
At the Counter
Overview
This page explains how loyalty works during a real sale on the POS tablet — what your cashiers do, and what they see. It's a useful page for training staff.
The flow is always the same: attach the member → build the basket → take payment. Points are awarded automatically once the sale is paid.
Step 1 — Attach the member
To earn or redeem anything, the customer must be attached to the sale.
- In the basket, the cashier taps the customer button.
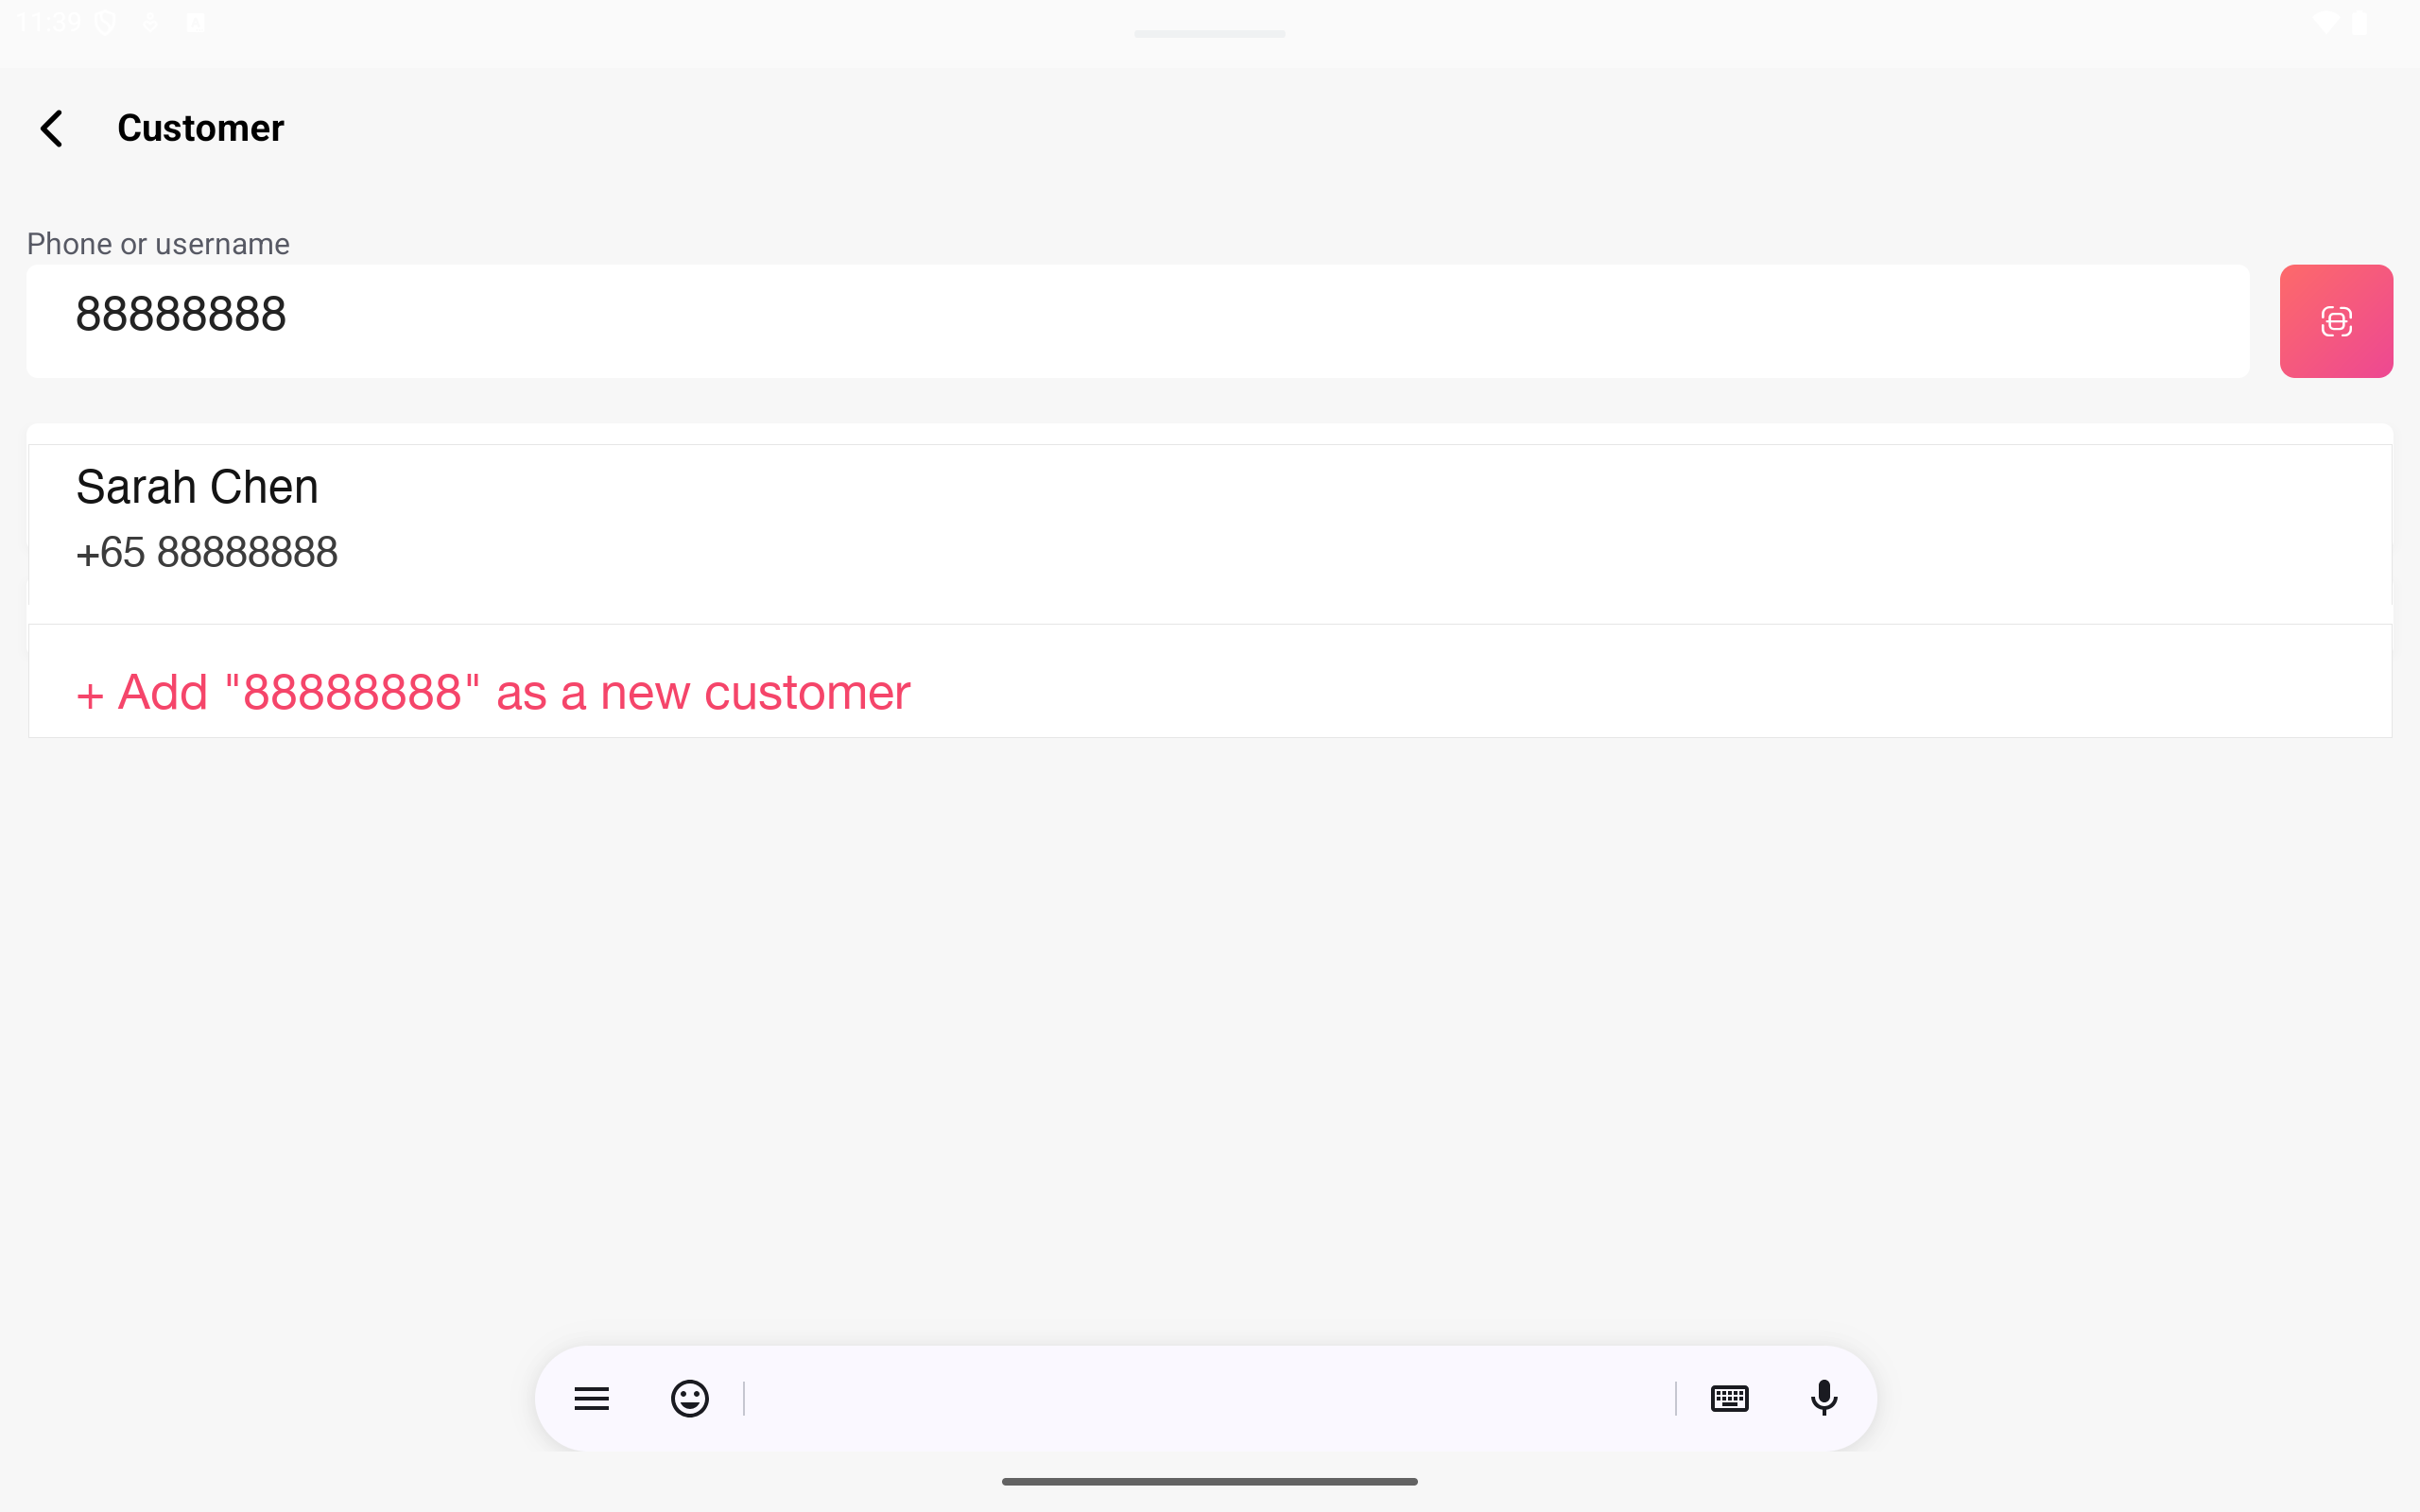
- The Customer screen opens with a "Phone or username" search. Searching starts once 4 characters are typed. The cashier can also tap the scan icon to attach a member by QR code.
- If the customer isn't found,
+ Add … as a new customeropens a quick form to create them — the button reads "Make member" or "Add customer". - Once attached, the customer panel shows their Point balance, Credit balance, and (if enabled) Post-pay remaining.
No member, no points
If no member is attached, the sale still completes — but no points are earned and no member rewards can be applied. Attach the customer before taking payment.
Step 2 — Build the basket
The cashier adds products, then can apply rewards from the basket action bar.
Vouchers
Tapping Voucher opens the Vouchers modal. With a member attached there are two tabs:
- Member Vouchers — the vouchers that customer already holds.
- Search by Code — enter or scan a voucher code.
The voucher's value appears as a discount line in the basket. By default only one voucher can be applied per sale (set by Stack Voucher Type in Outlet Settings).
Discounts
Tapping Discount opens a modal with three tabs:
- Amount — a flat amount off.
- Percent — a percentage off.
- Programs — your pre-built discount programs.
Discounts are itemised in the basket and can be removed.
The basket total
The basket footer always shows the running breakdown: total pieces, subtotal, discounts, service charge, tax, any deposit, and the final total.
Step 3 — Take payment
The cashier taps Pay and chooses a payment method tile. Each tile comes from a payment method you set up.
| Method | What happens |
|---|---|
| Cash | A standard cash payment. |
| Loyalty (points) | Opens the Loyalty modal showing "Your Loyalty" and the conversion "1$ = N point". The amount is capped at the member's balance. |
| Store credit | Opens the Store credit modal showing "Your store credit". If post-pay credit is enabled, the extra room is shown and can be used. |
| Voucher payment | For payment-linked vouchers — appears as its own tile. This portion must be paid first, before other methods. |
A sale can be split across several methods — e.g. part points, part cash.
When payment completes, the POS shows "Payment successful!" with options to print the receipt.
After the sale — points are earned
Points are not shown on the POS. Rewardly calculates them on its server once the payment is complete, then:
- the member's balance updates in the member app,
- the earning appears in your admin reports under History & Transactions,
- any stamp cards progress, and any cashback lands as store credit.
Related
- What Members See — the customer's side of the same sale.
- Loyalty Points — earning and redeeming in detail.
- Payment Methods — the tiles on the payment screen.
- Vouchers · Discounts · Store Credit.