Menus
Overview
A menu decides what appears for sale, and where. It's a named collection of product categories and products, assigned to one or more outlets. The POS and your online ordering page both show whatever the menu contains.
How it works
- First you build your catalog — products and categories.
- Then you create a menu that picks categories and products from that catalog.
- You assign the menu to outlets, and those outlets display it.
Different outlets can run different menus — handy when branches sell different things.
Default setup
Bean & Brew example: a single "Main Menu" of their coffee and pastry categories.
- Make sure your products and categories exist.
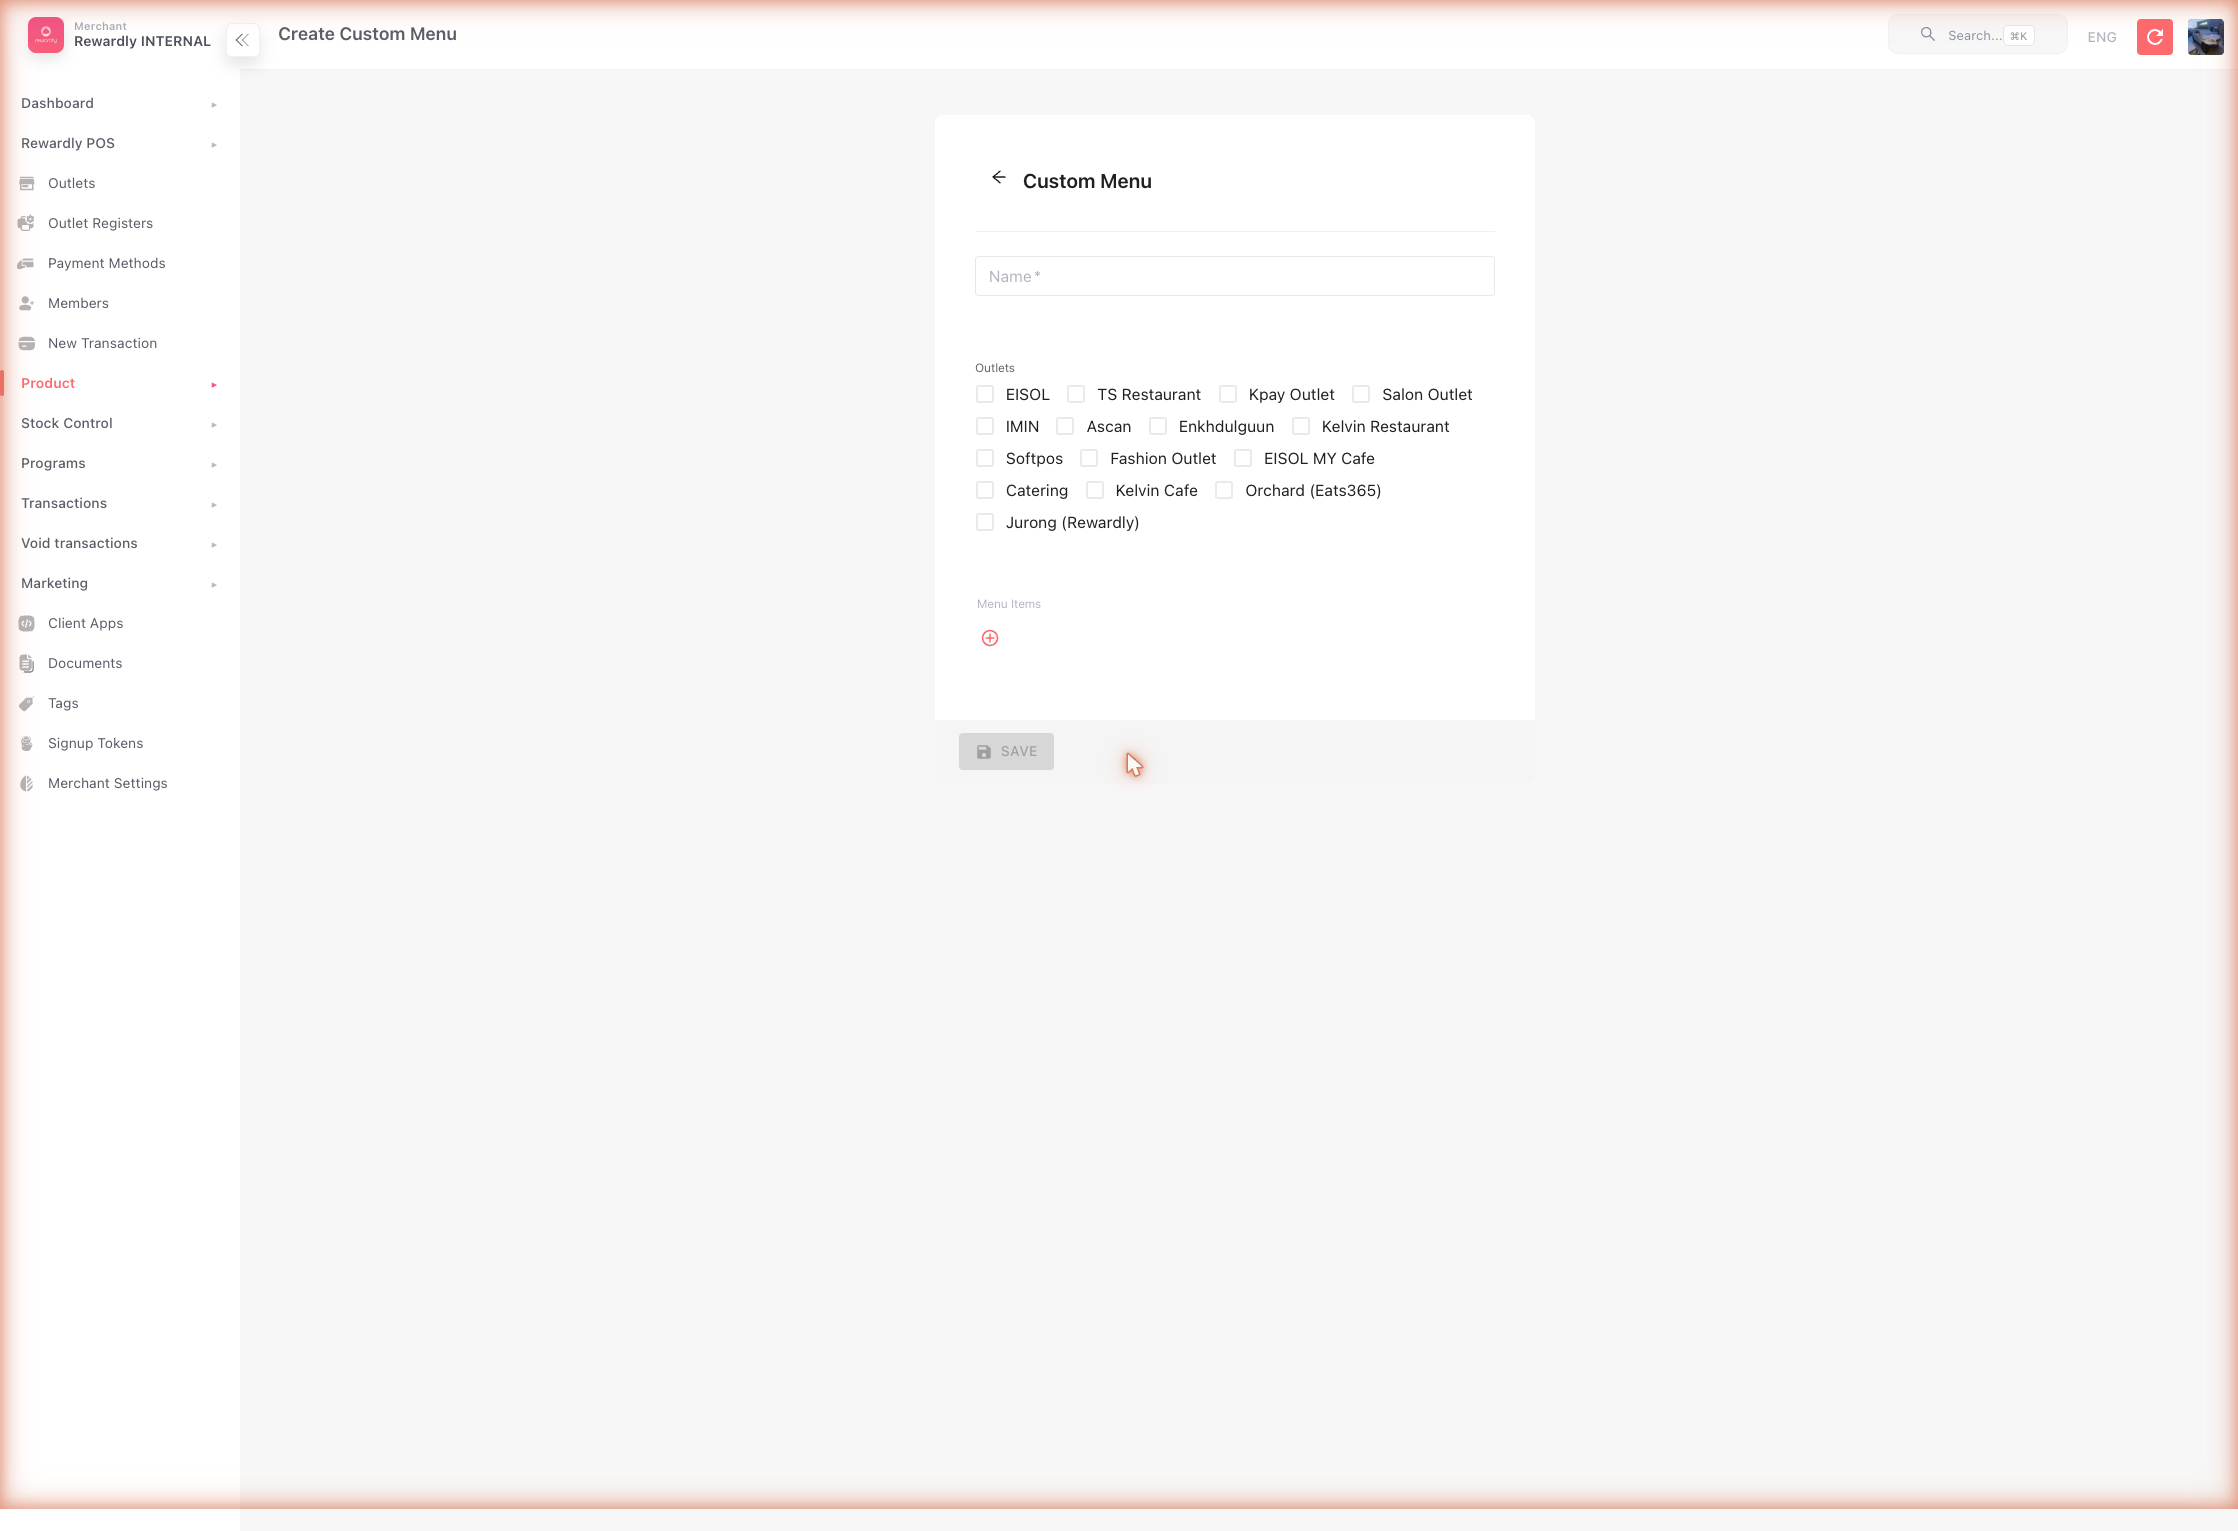
- In the sidebar open Menus (
/menus), then click Create. - Fill in:
- Name —
Main Menu - Outlets — tick the outlets that should show this menu
- Menu items — add a row per category, then pick the products within it
- Name —
- Save.
Advanced options
The depth lives in the product catalog itself:
| Feature | What it does |
|---|---|
| Combos & variants | Bundle products into combos, or offer size/flavour variants. |
| Channel visibility | Each product's Visible on setting controls whether it shows on POS, kiosk, online, and delivery platforms. |
| Open price | Let the cashier enter the price at the till. |
| Embedded barcodes | Support weight- or price-embedded barcodes. |
| Menu price control | Per outlet, choose whether online ordering shows dine-in or takeout prices. |
Related
- Products & Categories — building the catalog a menu draws from.
- Online Ordering — where menus appear to customers.
- Outlet Settings — the Menu switch on the Order tab.