
Outlet Settings
Overview
An outlet is one physical location — a branch or store. You need at least one. Outlet settings sit below Merchant Settings: they apply only to that branch.
Open Outlets (/outlets) in the sidebar, then create or edit an outlet. The form has four tabs: Main, Details, Order, and Settings.
Default setup
For a basic outlet you only need:
- Main tab — a Name, with Is Active on.
- Details tab — the address, working hours (format
HH:mm-HH:mm), and the location pin on the map.
That's enough to start. The Order and Settings tabs only matter if you take orders or use integrations.
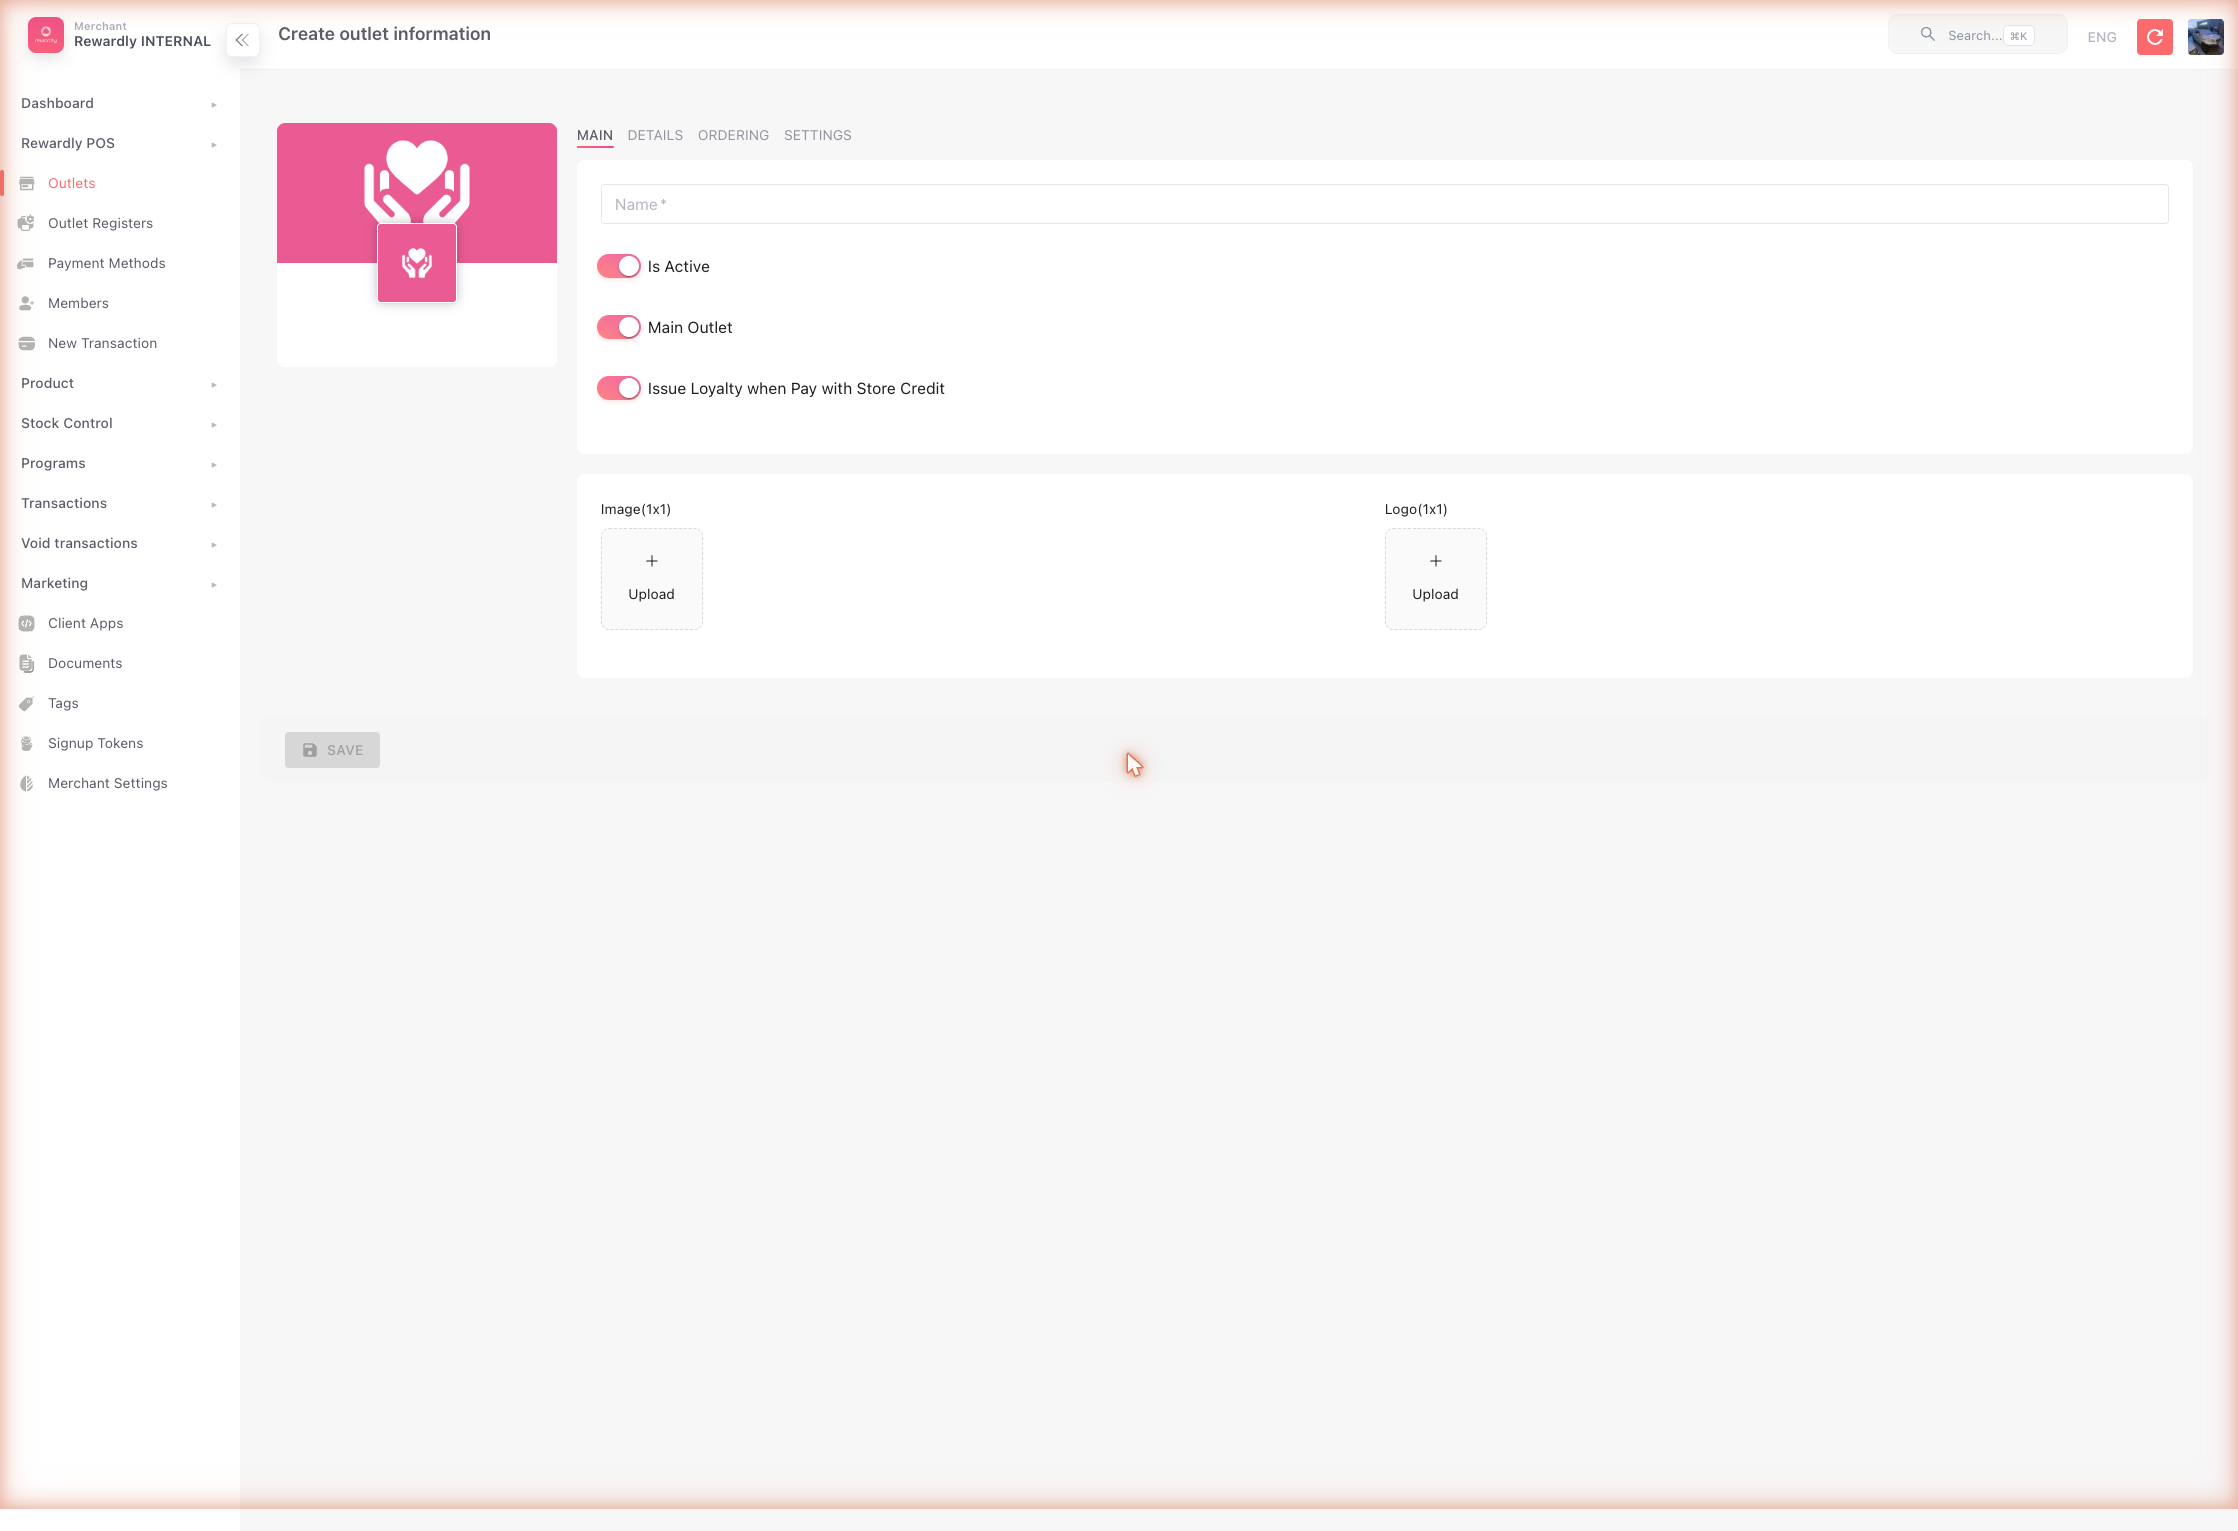
Main tab
| Field | What it does |
|---|---|
| Name | The outlet's name. Required. |
| Tags | Labels for grouping outlets. |
| Is Active | Turns the outlet on or off. |
| Is Main Outlet | Marks this as your primary location. |
| Issue Loyalty when Pay with Store Credit | Whether a sale paid with store credit still earns points. |
| Image / Logo | Branding images for the outlet. |
Details tab
- Contact — name, phone numbers, email, website.
- Address — street, building, city, state, postal code, country.
- Working hours — opening hours per day, format
HH:mm-HH:mm(e.g.09:00-22:00). - Outside hours — breakfast / lunch / dinner windows during which vouchers are disabled.
- Location — the map pin (place search, latitude, longitude). Required.
Order tab
The Order tab only matters if you take orders (food & beverage, retail with order flow). Its sections are accordions that appear as you enable them.
Operation type
Under Order Settings, turn on Order and pick an Operation type:
- Quick Service (QSR) — counter service.
- Full Service (FSR) — table service.
- Retail — retail sales.
Loyalty settings (per outlet)
These control how loyalty behaves at this branch — useful if branches differ:
| Setting | What it does |
|---|---|
| Allow store credit redeem | Whether store credit can be spent here. |
| Allow point redeem | Whether points can be redeemed here. |
| Point redeem min percent | The minimum share of a bill that points must cover when used. |
| Stack Voucher Type | Single = one voucher per sale; Multiple = several allowed. |
This is where voucher stacking is set
If you want customers to use more than one voucher on a sale, set Stack Voucher Type to Multiple here.
Tax & service charge
| Setting | Default | What it does |
|---|---|---|
| Is Tax inclusive | On | Whether prices already include tax. |
| Tax Rate (%) | 9 | The tax percentage. |
| Apply Discount with Tax | After | Whether discounts apply before or after tax. |
| Secondary Taxes | — | Extra taxes (name, type, value, dates). |
| Service Charge Type | None | None, liable for GST, or not liable for GST. |
| Service Charge Rate (%) | 10 | The service-charge percentage. |
| Apply Discount with Service Charge | After | Whether discounts apply before or after service charge. |
| Remove SC for members | Off | Waive service charge for members. |
Rounding
Set how totals are rounded — Rounding mode (up / down / normal), Rounding value (e.g. 0.01), and whether rounding applies to cash only.
Service types
Separate accordions configure Dine In, Takeout, and Delivery — opening times, padding/lead time, pager modes, delivery distance and fees, and the default order status after payment.
Other order settings
Printing behaviour, shift settings, custom banner/checkout messages, average fulfil time, and a grid of order-status notifications (Email / SMS per status).
Settings tab
The Settings tab holds integrations for this outlet — Vend, Shopify, Eats365, Grab, Keeta, Foodpanda, and Xilnex. Configure these only if you use those services.
Related
- Merchant Settings — platform-wide settings above the outlet.
- POS Settings — the registers (tills) inside an outlet.
- Discounts — affected by the tax/service-charge priority here.
- Vouchers — voucher stacking is set here.