Tables & Dine-In
Overview
If you run table service, Tables let you attach each order to a physical table, track which tables are occupied, and (in Full Service mode) assign waiters to sections.
How it works
- Tables are grouped into sections (e.g. Patio, 2nd Floor).
- Each table has a name and a seat count, and is linked to a QR code so customers can order from the table.
- Dine-in behaviour — whether table scanning is required, and what happens to a table after payment — is set on the outlet.
Default setup
Bean & Brew example: a handful of tables in one seating area.
1. Create a section
In the sidebar open Table Sections (/table-sections), click Create, choose the Outlet and give the section a Name (e.g. Main Floor).
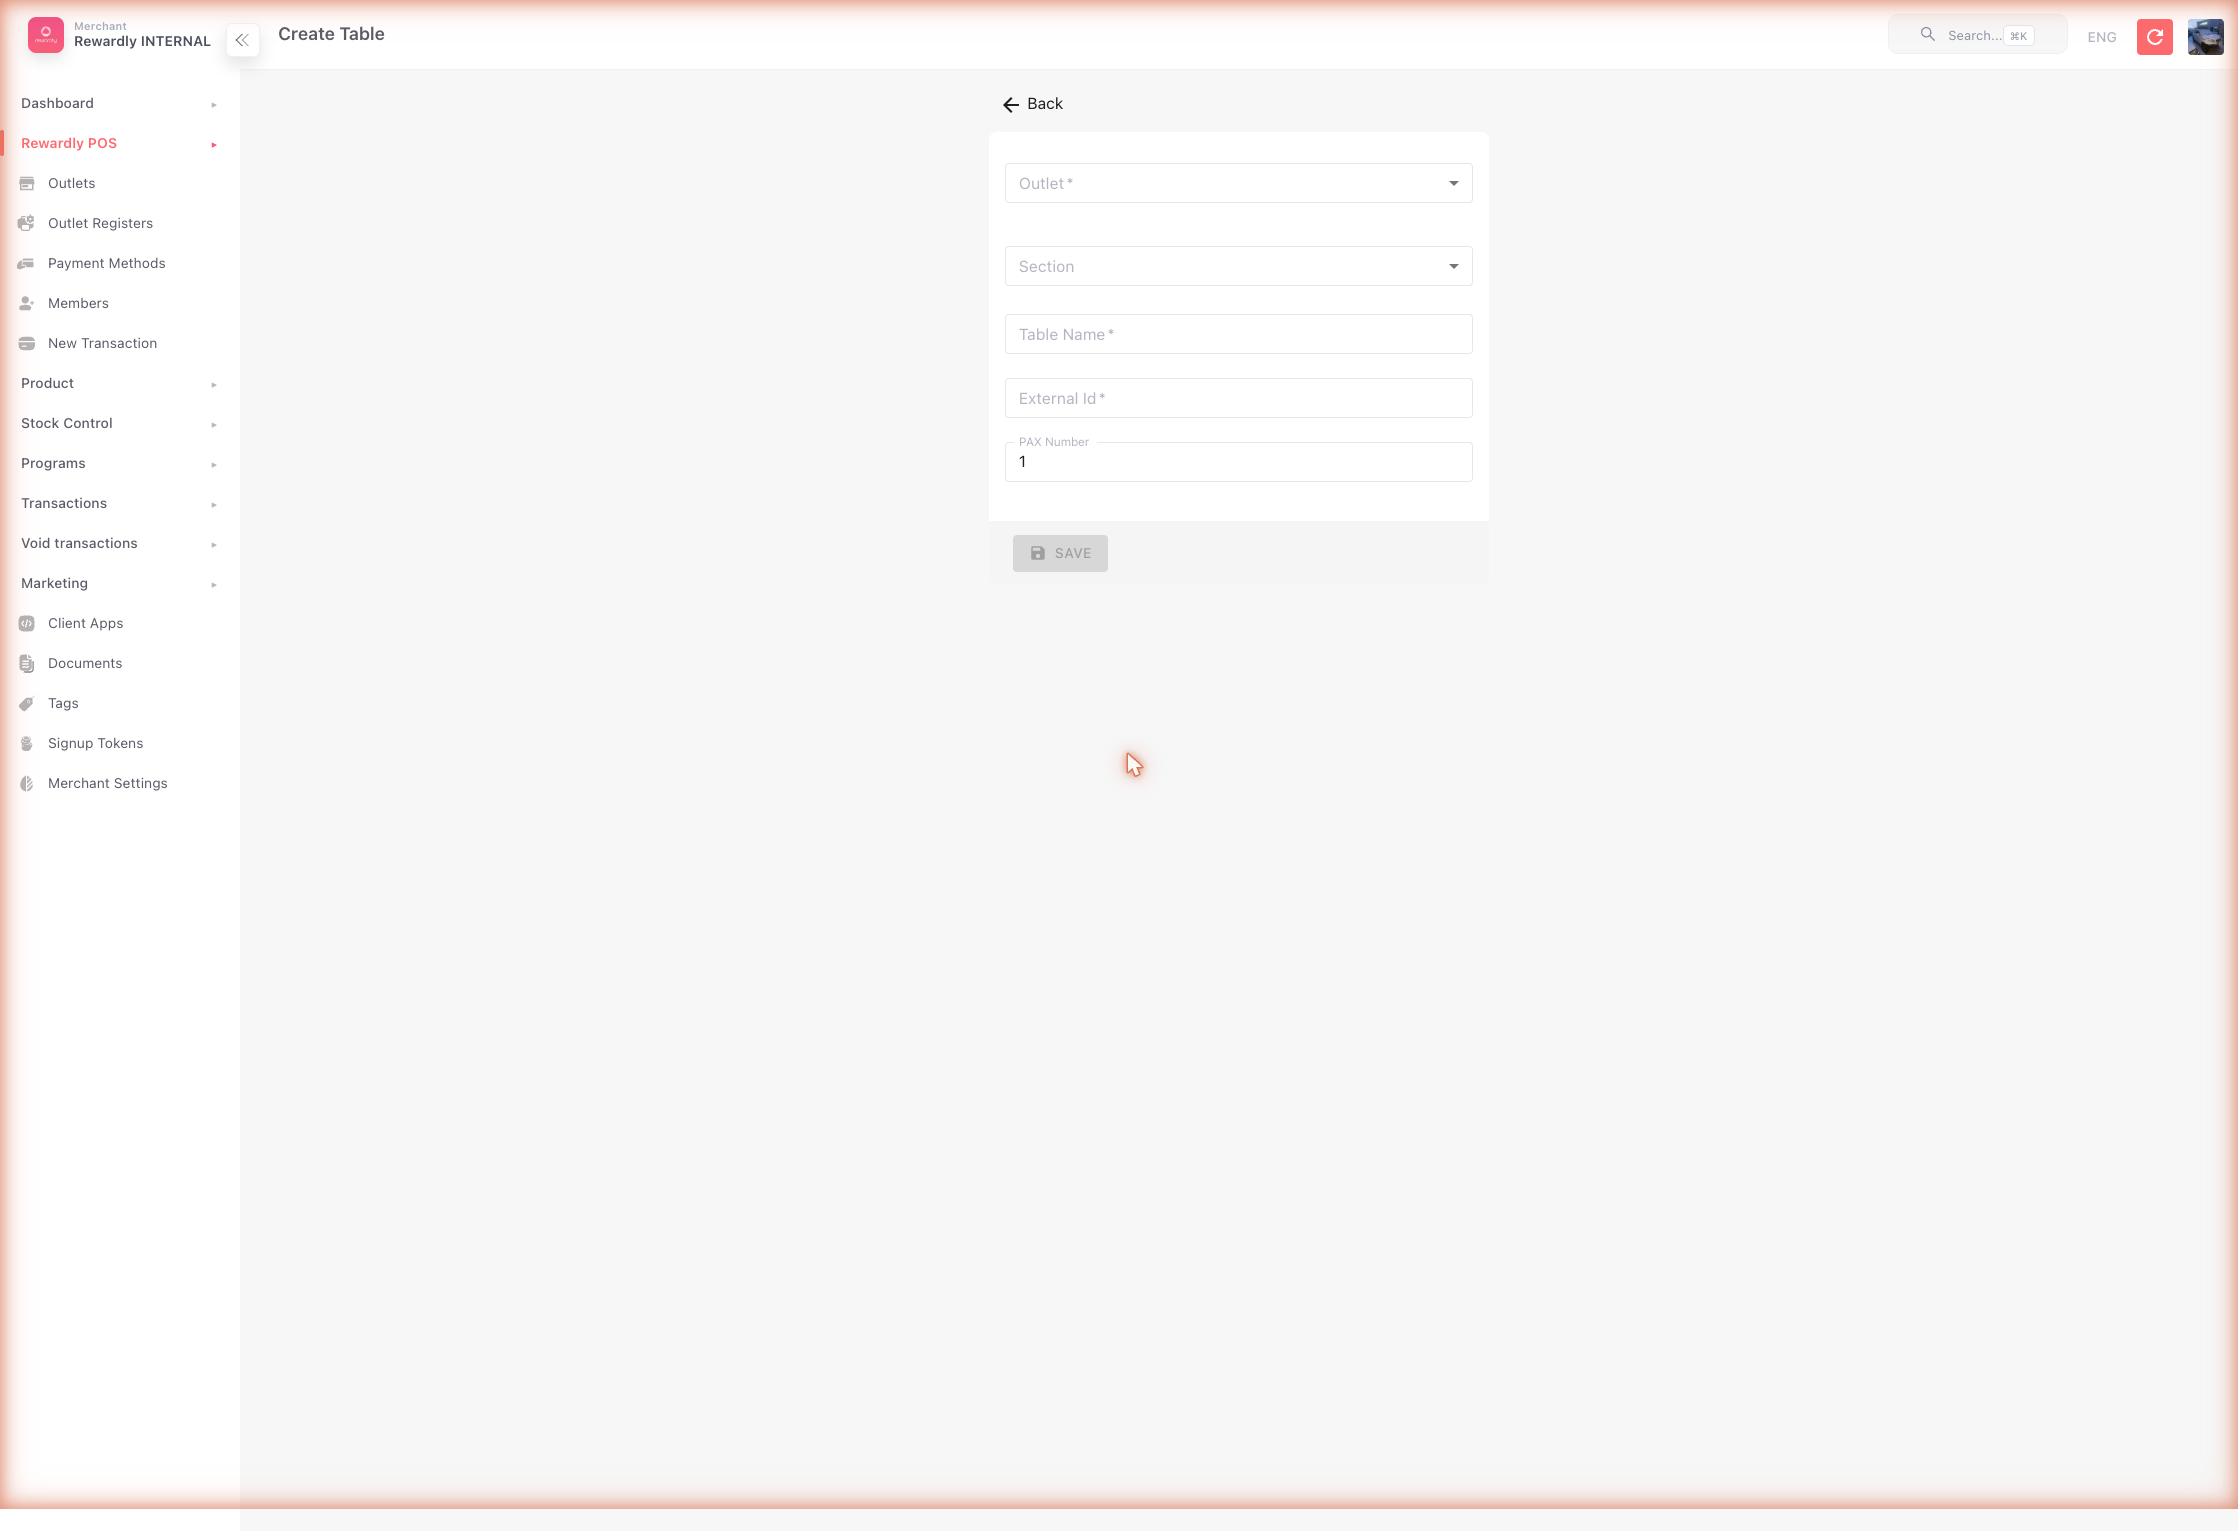
2. Create the tables
In Tables (/tables), click Create for each table:
- Outlet and Section
- Table name — e.g.
T1 - External ID — links the table to its QR code
- Pax — the number of seats
3. Turn on dine-in
On the outlet's Order tab, open Dine-In Settings and turn on Allow Dine In.
Advanced options
| Setting | What it does |
|---|---|
| Multiple sections | Organise a larger venue into several named areas. |
| Skip scan table | Let staff pick a table without scanning its QR (not available in Full Service). |
| Default table status after paid | After payment, mark the table needs cleanup or available. |
| Auto-lock table on print bill | Lock the table when the bill is printed. |
| Waiter table assignment | Limit a waiter (a POS user role) to specific tables — see Point of Sale. |
Related
- Point of Sale — attaching an order to a table.
- Online Ordering — customers ordering from a table QR.
- Outlet Settings — Dine-In Settings on the Order tab.